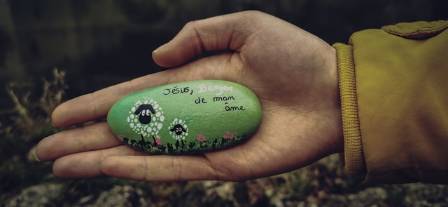
Hi rock painting friends! Natalie from Doodlecraft here, ready to show you a simple and fun way to paint flowers on rocks—perfect for a cheerful spring project.
This technique is super beginner-friendly and feels a bit like finger painting, but with a brush! If you’ve been wanting to create a floral rock but didn’t know where to start, this method makes it easy and enjoyable.

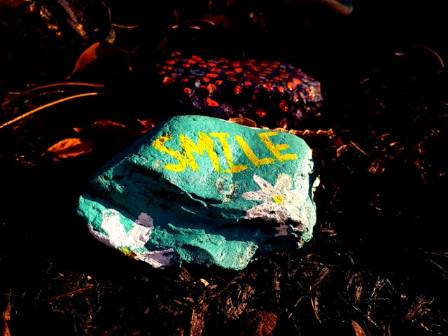
Painting a few flower rocks and hiding them in your yard or around town for a rock hunt can be even more exciting than a traditional Easter egg hunt!
If you try this idea, feel free to share your creations—I’d love to see what you make. You can post your painted rocks in the “I Love Painted Rocks” Facebook group or submit them to be featured online.
Supplies You’ll Need
(Some links may be affiliate links that help support the site.)
Smooth rocks (choose ones suitable for painting)
A round paintbrush
Acrylic paints (such as Apple Barrel)
Clear spray sealer
Step 1: Paint the Background
Start by coating your rock completely in black paint.
I usually wash my rocks first, then paint several at once so they’re ready whenever inspiration strikes.
Step 2: Start the Pink Flowers
Place a variety of bright paint colors on your palette—ideally multiple shades for each flower.
Using a round brush (size #4 or #6 works well), begin by painting small blobs of dark pink close together to form the center of the flower.
Then, build outward by adding “C”-shaped strokes around the center to create petals.
Step 3: Add More Color
While the paint is still wet, dab in lighter pinks, coral tones, or even yellow.
Keep it loose and natural—petals don’t need to be perfect or even fully connected. Let a bit of the black background show through for contrast.
Step 4: Paint Blue Flowers
Repeat the same process with blue tones.
Start from the center and expand outward, then add touches of white or yellow to highlight the petals.
Step 5: Add Leaves
Once you’ve added several flowers, leave some space for greenery.
Use a pressing and lifting motion with your brush to create simple leaf shapes. Add layers of green, light green, or yellow for variation.
Continue filling in flowers and leaves until your rock feels complete.
Step 6: Seal Your Rock
To protect your artwork and make it weather-resistant, spray the finished rock with a clear sealer.
Once dry, your floral rock is ready to display in your garden, decorate your porch, or hide for others to discover.
And that’s it! A simple, colorful project that brings a little creativity and joy wherever it goes.